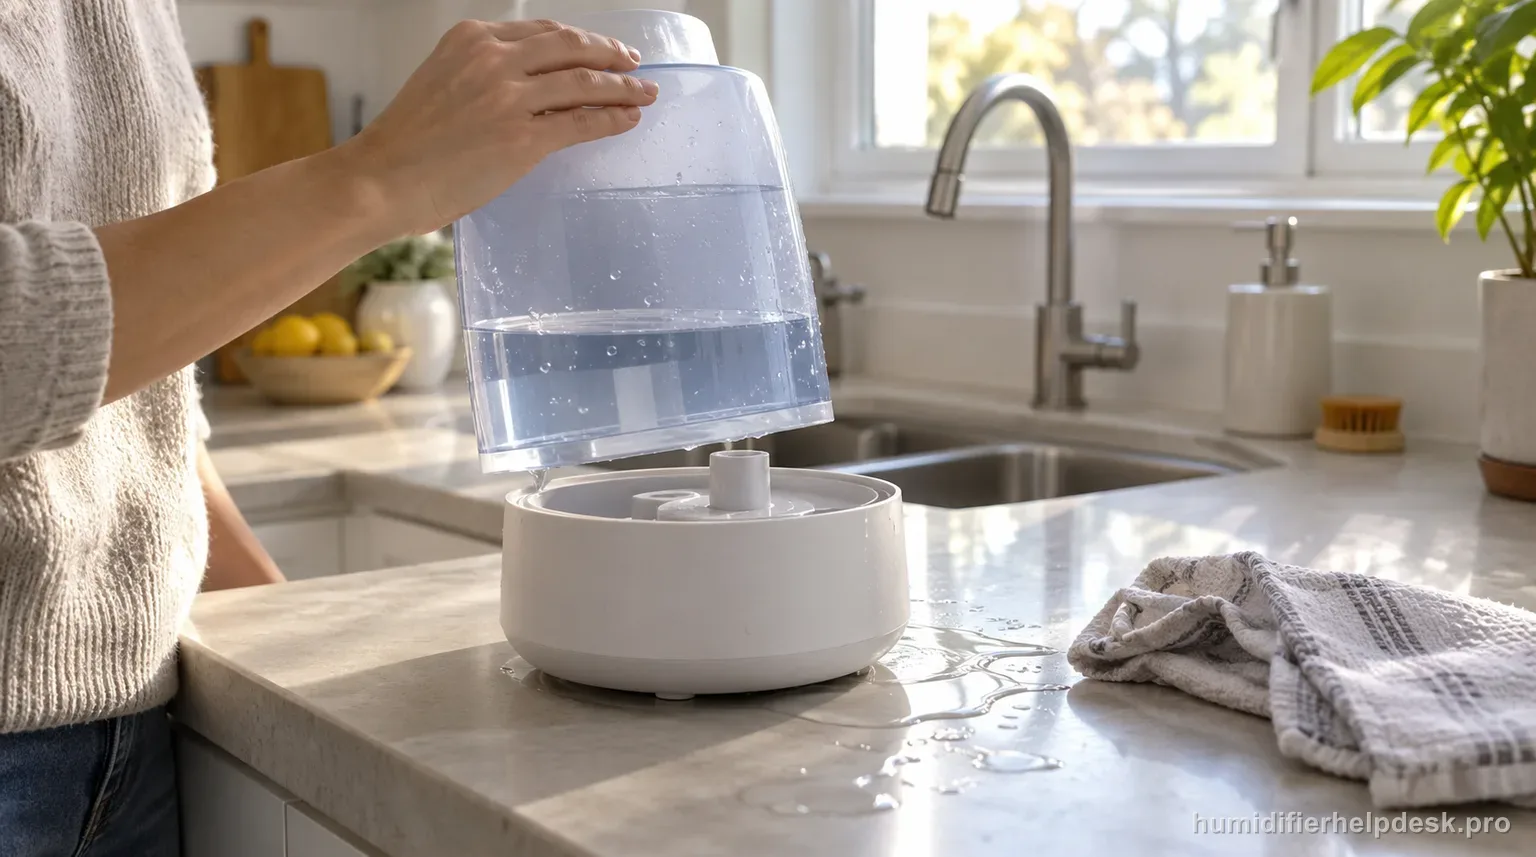
Honeywell gives a short, exact HUL535 overflow path: inspect the tank for damage, make sure the Tank Cap is locked tight, and confirm the Tank Cap Seal is present. Those checks should be completed before assuming the powered base itself is leaking.
Does this match what you are seeing?
Owners describe this Honeywell HUL535 Ultra Quiet problem in a few different ways. If one of these sounds like yours, this guide covers it:
- Leaking water
- Water under the base
- Humidifier leaking from bottom
- Reservoir leaking or overflowing
Check these in order
- Turn the HUL535 off, unplug it, and dry old water from the reservoir and surrounding surface before tracing fresh water.
- Inspect the Water Tank for cracks, impact damage, or a repeatable seep.
- Remove and reinstall the Tank Cap so it is fully tightened in the lock position.
- Confirm the Tank Cap Seal / rubber gasket is present and seated correctly.
- Retest only on a firm, flat, waterproof surface, keeping water away from the cord and controls.
Diagnostic decision path
Honeywell keeps the HUL535 reservoir-overflow diagnosis to three external parts: the Water Tank, the Tank Cap, and the Tank Cap Seal. That simplicity is useful. A puddle does not justify opening the powered base when the manufacturer first wants the owner to look for tank damage, confirm the cap is fully locked, and verify that the rubber seal is actually present. Drying the unit before the test makes those three checks much easier to interpret.
- Turn the HUL535 off, unplug it, and dry the tank, reservoir, base exterior, and supporting surface. Do not trace a water source with the unit energized.
- Move the humidifier only after it is unplugged. Keep it upright and place it on a firm, waterproof surface for the retest.
- Inspect the cord and electrical housing. If water has entered those areas, do not proceed with a powered retest even if the tank problem seems obvious.
If: A crack, impact mark, or repeatable seep appears on the tank
What it means: The tank itself is a documented overflow source and has already failed the external integrity check.
Do next: Stop using that tank and contact Honeywell for replacement guidance. Do not keep refilling it over the electrical base to confirm the same leak again.
If: The Tank Cap is not fully tightened to the lock position
What it means: The water path can release improperly because the cap is not sealing as designed.
Do next: Reinstall the cap correctly, dry the reservoir, and perform one stationary test. If the overflow stops, there is no reason to disturb the base.
If: The Tank Cap Seal is missing or displaced
What it means: Honeywell explicitly names the seal in the reservoir-overflow row.
Do next: Do not improvise a gasket. Contact Consumer Relations for the correct replacement path and keep the humidifier out of service until the seal is restored.
If: The tank, cap, and seal look normal but overflow returns immediately
What it means: The owner-level list has been completed without identifying a correctable external cause.
Do next: Keep the unit unplugged and contact Honeywell. The manual does not direct the user to open the base or adjust an internal valve.
If: Water appears broadly on nearby surfaces without a repeatable reservoir overflow
What it means: The observation may be condensation rather than the three-part overflow problem covered here.
Do next: Reduce mist output and room humidity, dry the area, and reassess. Use the overflow path only if fresh water actually returns through the tank/reservoir system.
How to interpret the retest
The location of the water matters. “Reservoir overflow” is a tank/cap/seal problem in Honeywell’s table. Condensation on windows or dampness around the humidifier has a different troubleshooting row tied to excessive mist for the room and placement near walls or windows.
A missing cap seal is not a good candidate for a homemade substitute because the seal controls a water path directly above the base. Using the correct replacement preserves both the fit and the manufacturer’s intended troubleshooting boundary.
Tank impact damage may be small enough to miss while the tank is wet. Drying it first and watching for the first fresh seep gives better evidence than simply noticing that the reservoir eventually fills too high.
Do not let a successful cap correction turn into unnecessary disassembly. If tightening the cap stops the overflow in a stationary retest, the result already identifies the cause that mattered.
Persistent water near a powered appliance should shorten—not lengthen—the DIY path. Once the three documented checks have been completed, unresolved overflow belongs with Honeywell support.
Model-specific context that changes the diagnosis
Check the seal before buying a new tank
A tank that looks intact can still overflow if its cap is loose or the rubber seal is missing. Honeywell names all three possibilities. Verifying cap lock and seal presence before replacing the tank prevents a good tank from being discarded when the actual problem is at the cap.
Drying the reservoir creates a clean baseline
Old water from filling or a previous overflow can continue to spread after the original cause has stopped. Wipe the reservoir and surface dry before retesting so the first new water can be tied to a specific condition. Without that clean baseline, a corrected cap may be blamed for water that was already present.
Do not turn this into an internal-valve experiment
The HUL535 manual gives no owner procedure for opening the base or adjusting an internal water valve. If a sound tank, locked cap, and present seal do not stop the overflow, the useful next step is Consumer Relations with a description of the completed checks, not a deeper disassembly.
Common mistakes that make this harder to diagnose
- Replacing the tank before confirming the cap is locked and the seal is present.
- Retesting while old spill water is still around the reservoir.
- Confusing room condensation with water actually overflowing from the tank/reservoir path.
- Opening the base after the three external Honeywell checks are complete.
The HUL535 overflow problem is resolved when the reservoir remains at a normal level during a dry, level retest after a correctable external cause is fixed—such as a fully locked Tank Cap or restored cap seal. A damaged tank requires replacement rather than continued testing. If overflow persists with an intact tank, locked cap, and correct seal, keep the humidifier unplugged and contact Honeywell instead of opening the powered base.
Questions people ask about this exact symptom
Why is water overflowing from my Honeywell HUL535 reservoir?
Honeywell lists three causes: the tank may be damaged, the Tank Cap may not be tight, or the Tank Cap Seal may be missing. Unplug and dry the humidifier, inspect the tank, close the cap fully to the lock position, and confirm the rubber seal is present. If all three are correct and overflow returns, contact Consumer Relations rather than opening the base.
Can I replace a missing HUL535 tank-cap gasket with a generic seal?
Honeywell’s troubleshooting path specifically depends on the Tank Cap Seal being present. A generic gasket may not have the correct size or behavior for the water path. Keep the unit out of service and use Honeywell Consumer Relations for the proper replacement route. That is safer than experimenting with a seal above the powered base and repeatedly testing for overflow.
How do I tell HUL535 overflow from condensation?
Dry the tank, reservoir, and surrounding surface first. A true overflow problem returns through the tank/reservoir path and should be checked against tank damage, cap lock, and the cap seal. Condensation is usually broader moisture related to output and room conditions. If lowering mist and ventilating removes the dampness without new reservoir water appearing, condensation is the better match.
Why this path is model-specific
The HUL535 owner manual maps reservoir overflow to a damaged tank, a Tank Cap that is not tight, or a missing Tank Cap Seal. Honeywell’s current HUL535 support repeats the tank-damage, cap-lock, and gasket checks and directs unresolved cases to Consumer Relations.
For the Honeywell HUL535 Ultra Quiet, the machine type matters: it is ultrasonic. Visible mist is part of normal output when mist production is active, so a true no-mist complaint deserves model-specific troubleshooting.
Compare this symptom across verified models
If you are still deciding whether this behavior is normal or model-specific, use the symptom hub to compare only manufacturer-linked guides. Keep the Honeywell HUL535 Ultra Quiet instructions above as the controlling path for this machine.
If the problem is still there
If the checks above do not change the symptom, use the manufacturer support path for this exact model. We intentionally stop before undocumented resets, sensor bypasses, internal mains work, or parts replacement that the consumer manual does not authorize.
What we do not recommend
Do not defeat a float, water-level sensor, overheat protection, interlock, or other safety feature. Do not open mains-powered sections for live testing. If the unit smells burned, becomes abnormally hot, smokes, sparks, has water near electrical parts, or repeatedly trips a circuit, stop using it and keep clear. Unplug it only if the plug, outlet, and surrounding area are dry and safe to reach; otherwise do not touch wet equipment and contact manufacturer support for next steps.
Primary source for this diagnosis
Source checked during the September 4, 2026 editorial review. Manufacturer documents can change; a material re-review updates this guide’s reviewed date rather than stamping unrelated pages.