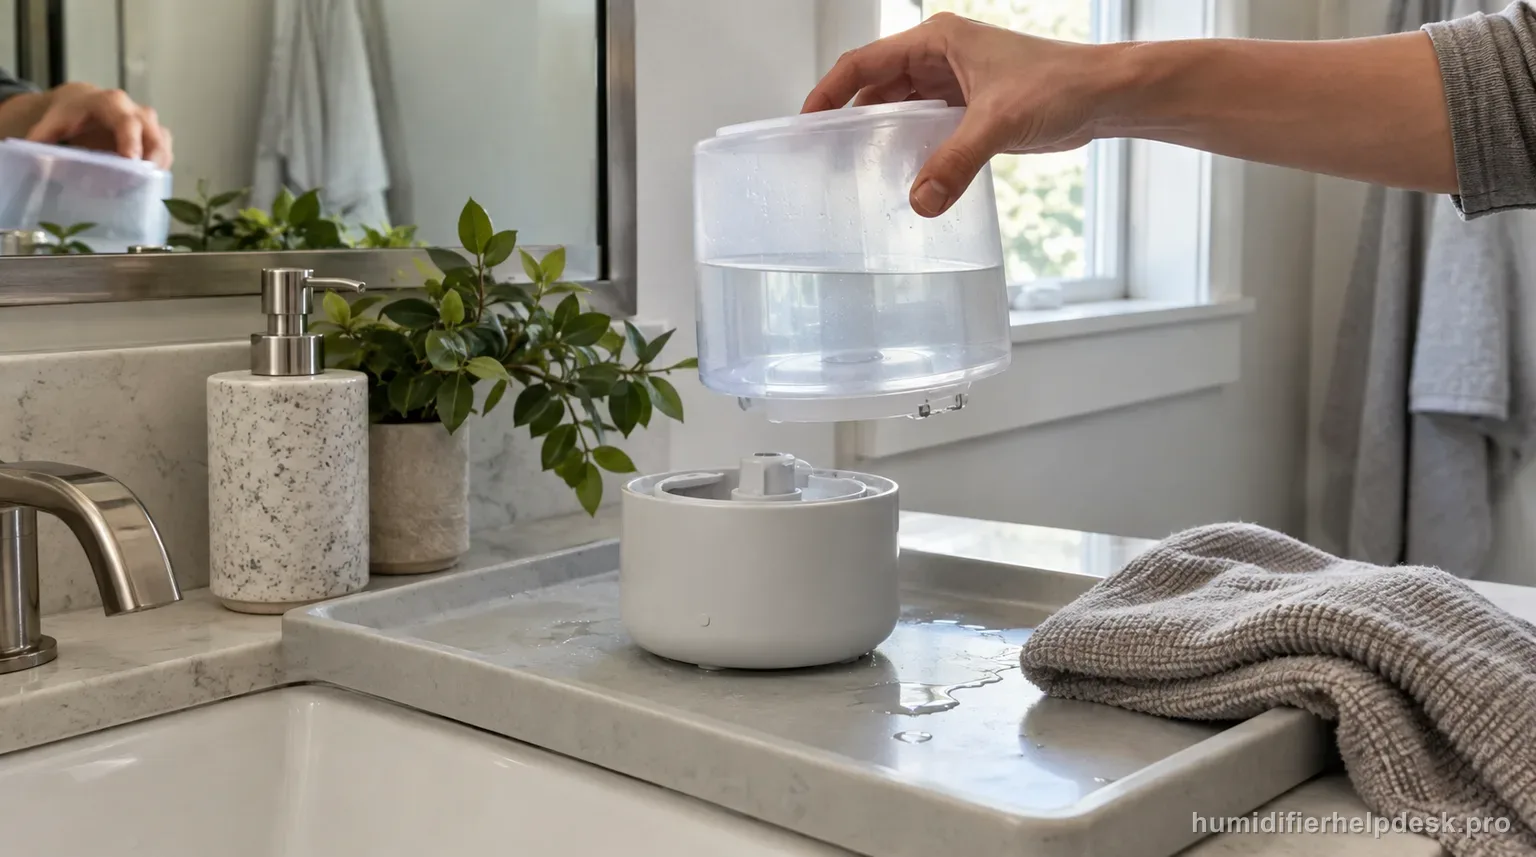
Honeywell gives three owner-level causes for HUL520 reservoir overflow: a damaged tank, a Tank Cap that is not locked tight, or a missing Tank Cap Seal.
Does this match what you are seeing?
Owners describe this Honeywell MistMate HUL520 problem in a few different ways. If one of these sounds like yours, this guide covers it:
- Leaking water
- Water under the base
- Humidifier leaking from bottom
- Reservoir leaking or overflowing
Check these in order
- Turn the HUL520 off, unplug it, and dry old water so you can locate the first fresh-water source.
- Inspect the Water Tank for cracks, seam damage, or impact damage.
- Close the Tank Cap fully to the lock position.
- Confirm the black Tank Cap Seal is attached; if the seal is missing, use Honeywell Consumer Relations rather than improvising a substitute.
- Retest only on a firm, level, water-resistant surface after the tank/cap path is dry.
Diagnostic decision path
The HUL520 overflow path is specific enough to avoid generic leak guessing. Honeywell’s exact troubleshooting table lists three owner-level causes: a damaged Water Tank, a Tank Cap that is not locked tight, or a missing Tank Cap Seal. Drying the unit first lets you separate those water-path causes from a refill spill or room condensation.
- Turn the HUL520 off and unplug it before handling the tank or reservoir.
- Dry the tank, cap, base exterior, and surrounding surface so the first fresh-water location is visible.
- Carry the filled tank with two hands as Honeywell directs; impacts can damage the tank and create a true leak.
If: Fresh water appears from a tank crack, seam, or impact-damaged area
What it means: A damaged tank is the first documented reservoir-overflow cause.
Do next: Stop using that tank and contact Honeywell for the correct replacement/support path.
If: The tank is intact but the Tank Cap is not fully at the lock position
What it means: The cap may not be sealing the gravity-fed reservoir path correctly.
Do next: Reinstall and close the cap fully to the lock position, then retest on a dry surface.
If: The cap is locked but the black Cap Seal is absent or displaced
What it means: The exact troubleshooting table identifies a missing seal as an overflow cause.
Do next: Do not improvise a substitute gasket; use Honeywell Consumer Relations for the correct part/support.
If: Tank, cap, and seal all pass and the original water does not return
What it means: The moisture may have been a refill spill rather than an active component leak.
Do next: Run a short monitored test on a water-resistant surface and distinguish any room condensation from a true reservoir overflow.
If: Water returns from the powered control/fan-opening side after the three documented checks
What it means: That no longer fits a safe user-serviceable tank/cap/seal correction.
Do next: Keep the HUL520 unplugged and contact Honeywell; do not open the powered base.
How to interpret the retest
Make this the first check: “Turn the HUL520 off, unplug it, and dry old water so you can locate the first fresh-water source”. With that step complete, compare the Honeywell MistMate HUL520 with “Fresh water appears from a tank crack, seam, or impact-damaged area”. If the two states match, the source-backed interpretation is “A damaged tank is the first documented reservoir-overflow cause” and then “Stop using that tank and contact Honeywell for the correct replacement/support path”. A non-match means this is not the right Honeywell MistMate HUL520 path and continue; that non-match helps rule out this explanation for the reservoir overflow or leak complaint.
This branch only fits if you can actually reproduce “The tank is intact but the Tank Cap is not fully at the lock position”. For the Honeywell MistMate HUL520, use “Inspect the Water Tank for cracks, seam damage, or impact damage” as the controlled test. If the same observation appears, the source meaning is “The cap may not be sealing the gravity-fed reservoir path correctly” and the next action is “Reinstall and close the cap fully to the lock position, then retest on a dry surface”. If it does not appear, record the non-match and continue through the remaining Honeywell MistMate HUL520 checks for reservoir overflow or leak.
Model-specific context that changes the diagnosis
Let the Honeywell MistMate HUL520 observation choose the next step
Treat the first two states as alternatives, not a combined checklist. When “Fresh water appears from a tank crack, seam, or impact-damaged area” is true, the Honeywell MistMate HUL520 path points to “A damaged tank is the first documented reservoir-overflow cause”; use “Stop using that tank and contact Honeywell for the correct replacement/support path”. When “The tank is intact but the Tank Cap is not fully at the lock position” is the better match, the path changes to “The cap may not be sealing the gravity-fed reservoir path correctly”, so use “Reinstall and close the cap fully to the lock position, then retest on a dry surface”. Retest one explanation before trying the action tied to the other.
Retest the Honeywell MistMate HUL520 without changing multiple variables
For the cleanest comparison, use “Turn the HUL520 off, unplug it, and dry old water so you can locate the first fresh-water source” as the first Honeywell MistMate HUL520 check. Retest before going to “Inspect the Water Tank for cracks, seam damage, or impact damage”, and reach “Close the Tank Cap fully to the lock position” only if the earlier result is unchanged. For the Honeywell MistMate HUL520, the goal is to learn which single documented condition affects the reservoir overflow or leak complaint while unrelated settings stay steady long enough to judge the result.
Common mistakes that make this harder to diagnose
- Reading the adjacent detergent-rinse row as an overflow cause; in the HUL520 table that row belongs to the preceding little/no-mist problem.
- Calling condensation a tank leak without drying the unit and lowering room humidity first.
- Reusing a visibly damaged tank because the crack only leaks intermittently.
- Substituting a random gasket for a missing Tank Cap Seal.
The overflow is resolved when an undamaged tank with a locked Tank Cap and correct Cap Seal stays dry through a monitored fill/run. Repeated overflow after those checks or water at the electrical housing is the Honeywell-support boundary.
Questions people ask about this exact symptom
Why is water collecting around my Honeywell MistMate HUL520?
For the Honeywell MistMate HUL520, Honeywell gives three owner-level causes for HUL520 reservoir overflow: a damaged tank, a Tank Cap that is not locked tight, or a missing Tank Cap Seal. For this reservoir overflow or leak check on the Honeywell MistMate HUL520, start with “Turn the HUL520 off, unplug it, and dry old water so you can locate the first fresh-water source” and check the result before making another change.
What should I check first if my Honeywell MistMate HUL520 is leaking or leaving water outside the unit?
The useful order is “Turn the HUL520 off, unplug it, and dry old water so you can locate the first fresh-water source”, followed by “Inspect the Water Tank for cracks, seam damage, or impact damage” if needed, and then “Close the Tank Cap fully to the lock position”. Check the Honeywell MistMate HUL520 between steps.
When should I contact Honeywell about this Honeywell MistMate HUL520 problem?
Escalate the Honeywell MistMate HUL520 to Honeywell if the documented checks do not resolve reservoir overflow or leak. When you contact support about reservoir overflow or leak on the Honeywell MistMate HUL520, report what changed and what stayed the same; do not guess at an internal part. This safety boundary applies immediately at any point: “If water reaches the cord, Power Knob, fan opening, or electrical housing, keep the unit unplugged.”
Why this path is model-specific
The exact HUL520 troubleshooting table lists a damaged tank, a Tank Cap that is not tight, and a missing Tank Cap Seal for reservoir overflow. The fill section also warns that impact damage to the tank can cause leaking and requires the black Cap Seal to be securely in place.
For the Honeywell MistMate HUL520, the machine type matters: it is ultrasonic. Visible mist is part of normal output when mist production is active, so a true no-mist complaint deserves model-specific troubleshooting.
This symptom appears on other humidifiers too, but the meaning and reset path can change by technology, sensor logic, and control layout. Use the exact model source above before borrowing a fix from a neighboring model.
Compare this symptom across verified models
If you are still deciding whether this behavior is normal or model-specific, use the symptom hub to compare only manufacturer-linked guides. Keep the Honeywell MistMate HUL520 instructions above as the controlling path for this machine.
If the problem is still there
If the checks above do not change the symptom, use the manufacturer support path for this exact model. We intentionally stop before undocumented resets, sensor bypasses, internal mains work, or parts replacement that the consumer manual does not authorize.
What we do not recommend
Do not defeat a float, water-level sensor, overheat protection, interlock, or other safety feature. Do not open mains-powered sections for live testing. If the unit smells burned, becomes abnormally hot, smokes, sparks, has water near electrical parts, or repeatedly trips a circuit, stop using it and keep clear. Unplug it only if the plug, outlet, and surrounding area are dry and safe to reach; otherwise do not touch wet equipment and contact manufacturer support for next steps.
Primary source for this diagnosis
Source checked during the September 4, 2026 editorial review. Manufacturer documents can change; a material re-review updates this guide’s reviewed date rather than stamping unrelated pages.