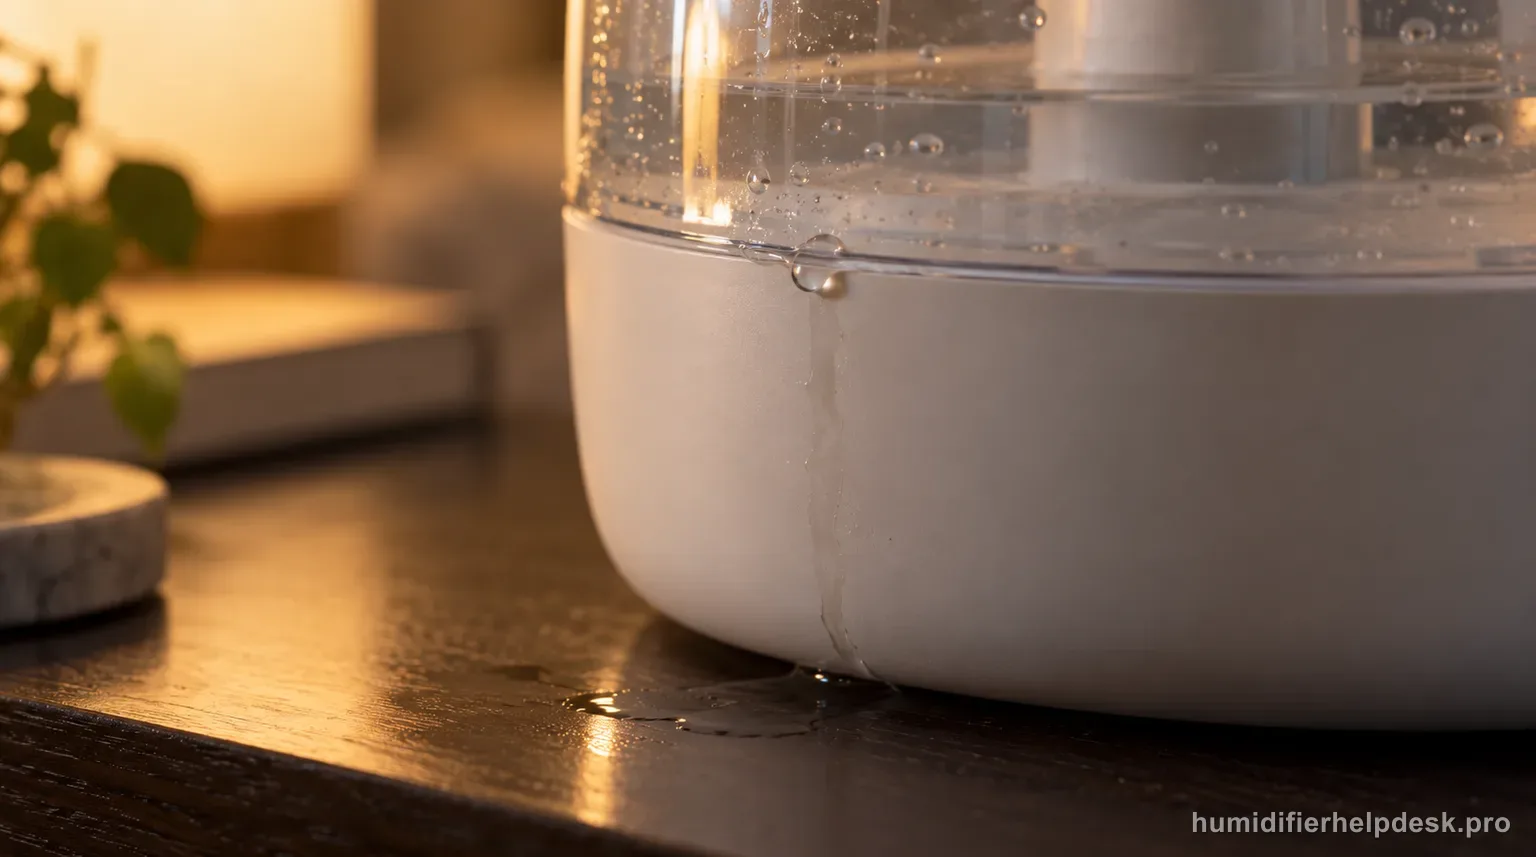
Honeywell’s HUL570 leak row stays focused on the float-and-plunger water path: incorrect float-paddle placement, a damaged or sticking plunger, a cracked tank, or foreign material under the tank gasket. Dry the unit first and verify those conditions one at a time.
Does this match what you are seeing?
Owners describe this Honeywell HUL570 Easy to Care problem in a few different ways. If one of these sounds like yours, this guide covers it:
- Leaking water
- Water under the base
- Humidifier leaking from bottom
- Reservoir leaking or overflowing
Check these in order
- Unplug the HUL570 and dry the tank, base exterior, reservoir rim, and supporting surface before tracing fresh water.
- Confirm the float rod is secured in both brackets; the manual warns that poor float-paddle placement can cause leaking.
- At the sink, press and release the plunger to make sure it moves freely.
- Inspect the tank for a crack or impact damage and stop immediately if a repeatable tank leak is visible.
- Check the tank-gasket/plunger area for foreign material that can hold the valve open, then reseat the tank and perform one controlled leak test.
Diagnostic decision path
The HUL570 leak path is closely tied to the same float-and-plunger system that controls reservoir feed. Honeywell's troubleshooting table names five conditions: the float paddle is not placed correctly, the plunger is damaged, the plunger is sticking, the tank is cracked, or foreign material is trapped under the tank gasket. The setup section makes the float warning explicit: incorrect float-paddle placement can cause leaking as well as failed water feed.
- Unplug the HUL570 and dry all exterior water before tracing the source. Remove old spill water from the table, tank wall, base rim, and cord area so the next wet spot represents a current leak.
- Keep condensation separate from a liquid-water leak. The HUL570 manual says excessive room humidity can create dampness on nearby surfaces; a structural leak is better identified by fresh water appearing from the tank/base water path.
- If the tank was dropped, struck, or began leaking immediately after transport, inspect for a crack before repeated operating tests. Honeywell includes tank damage directly in the leak row.
If: The float rod is not secured in its brackets
What it means: The water-control mechanism is not positioned as Honeywell requires and may allow leaking.
Do next: Reinstall the float paddle correctly, dry the unit, reseat the tank, and perform one controlled observation.
If: The plunger sticks when pressed and released at the sink
What it means: The tank valve is not moving normally and may remain in a water-releasing position.
Do next: Use the documented push-and-release motion only. If it remains stuck or is damaged, stop and contact Honeywell.
If: The tank itself shows a crack or produces water while separated from the base
What it means: Tank damage, not reservoir assembly, is the direct leak source.
Do next: Do not keep operating or patch the tank; contact Honeywell for replacement/support.
If: Foreign material is caught under the tank gasket around the plunger
What it means: Debris can interfere with the seal and let water continue feeding when it should not.
Do next: At the sink, clear accessible debris and operate the plunger as Honeywell describes, then rinse, dry, and retest once.
If: The float is correct, the plunger moves freely, the tank is intact, and the gasket area is clean but water still leaks
What it means: The leak is no longer explained by the manual's owner-serviceable conditions.
Do next: Unplug the HUL570 and contact Honeywell Consumer Relations rather than opening the base.
How to interpret the retest
The setup warning is especially useful after cleaning. Because the float paddle is removable, a leak that starts immediately after reassembly should make float placement one of the first checks rather than a reason to suspect a cracked base.
A free-moving plunger and a clean gasket are related but distinct observations. The plunger can move yet still fail to seal if debris is trapped under the gasket. Check both conditions before deciding the tank valve path is normal.
Do not use continuous operating time as a way to locate a leak. Once fresh water appears near powered parts, stop. A dry-and-retest method provides enough evidence without allowing a small water problem to become an electrical risk.
Over-humidification can wet windows, walls, or the surface around the humidifier, but it does not create the same trace pattern as water escaping from the tank or reservoir. If dampness is diffuse and no fresh liquid path appears from the unit, evaluate room humidity and mist direction separately.
After each correction, use one controlled refill and observation. If the unit remains dry, the result is meaningful. If it leaks again, repeating the same wet test without a new hypothesis adds risk without improving the diagnosis.
Model-specific context that changes the diagnosis
Float placement is both a feed and leak check
Honeywell links incorrect float-paddle installation to two opposite-looking problems: water may fail to feed into the reservoir, or the unit may leak. That is why float position deserves an early check whenever symptoms begin after cleaning.
Test the plunger at the sink
The manufacturer directs a push-and-release test for the plunger. Perform it over the sink, where released water is controlled, and never wedge the valve open over the powered base.
Do not patch a cracked water tank
A tank crack is a manufacturer-listed leak cause. A taped or glued tank can fail again and sends water toward an electrical appliance, so the proper response is replacement/support rather than a home-made seal.
Common mistakes that make this harder to diagnose
- Running another long test while water is already present around the powered base.
- Forgetting that the float paddle was removed during cleaning and may be misinstalled.
- Forcing the tank plunger or using a tool to hold it open.
- Patching a cracked tank with tape, glue, or sealant.
- Confusing room condensation with a fresh liquid-water leak from the tank/base path.
The HUL570 leak is resolved when the humidifier stays dry after the specific water-path problem is corrected and one controlled operating test confirms normal reservoir feed. Correct float-paddle placement, a freely moving undamaged plunger, an intact tank, and a clear gasket area are the manufacturer-supported conditions to verify. If water continues to escape after those checks, or if any water-bearing part is damaged, stop using the unit and contact Honeywell Consumer Relations. Do not open the base or improvise a seal.
Questions people ask about this exact symptom
Why is my Honeywell HUL570 leaking from the base or reservoir?
Honeywell lists five causes: the float paddle is not placed correctly, the tank plunger is damaged, the plunger is sticking, the tank is cracked, or foreign material is trapped under the tank gasket. Unplug and dry the unit first, then check those conditions individually. If the tank or plunger is damaged, or the leak continues after correct float placement and a clean gasket area, contact Honeywell.
Can the HUL570 float paddle cause leaking?
Yes. Honeywell explicitly warns that improper placement of the float paddle can result in leaking or prevent water from feeding to the reservoir. The float rod should be secured in both brackets before the tank is replaced. After correcting the float, dry the base and table before a single retest. If fresh water still appears, continue with the plunger, tank, and tank-gasket checks.
What if debris is stuck under the HUL570 tank gasket?
Honeywell's troubleshooting table identifies foreign material under the tank gasket as a leak cause. At the sink, push and release the plunger system so water can flow and accessible debris can clear. Do not pry the gasket or hold the valve open with tools. Rinse, dry, and retest once. Persistent leakage, a damaged plunger, or a cracked tank should be referred to Honeywell Consumer Relations.
Why this path is model-specific
Honeywell lists an incorrectly placed float paddle, damaged or sticking plunger, cracked tank, and foreign material under the tank gasket as causes of HUL570 water leaking from the base or reservoir. The setup section separately warns that improper float-paddle placement can cause leaking or prevent reservoir feed.
For the Honeywell HUL570 Easy to Care, the machine type matters: it is ultrasonic. Visible mist is part of normal output when mist production is active, so a true no-mist complaint deserves model-specific troubleshooting.
This symptom appears on other humidifiers too, but the meaning and reset path can change by technology, sensor logic, and control layout. Use the exact model source above before borrowing a fix from a neighboring model.
Compare this symptom across verified models
If you are still deciding whether this behavior is normal or model-specific, use the symptom hub to compare only manufacturer-linked guides. Keep the Honeywell HUL570 Easy to Care instructions above as the controlling path for this machine.
If the problem is still there
If the checks above do not change the symptom, use the manufacturer support path for this exact model. We intentionally stop before undocumented resets, sensor bypasses, internal mains work, or parts replacement that the consumer manual does not authorize.
What we do not recommend
Do not defeat a float, water-level sensor, overheat protection, interlock, or other safety feature. Do not open mains-powered sections for live testing. If the unit smells burned, becomes abnormally hot, smokes, sparks, has water near electrical parts, or repeatedly trips a circuit, stop using it and keep clear. Unplug it only if the plug, outlet, and surrounding area are dry and safe to reach; otherwise do not touch wet equipment and contact manufacturer support for next steps.
Primary source for this diagnosis
Source checked during the September 4, 2026 editorial review. Manufacturer documents can change; a material re-review updates this guide’s reviewed date rather than stamping unrelated pages.