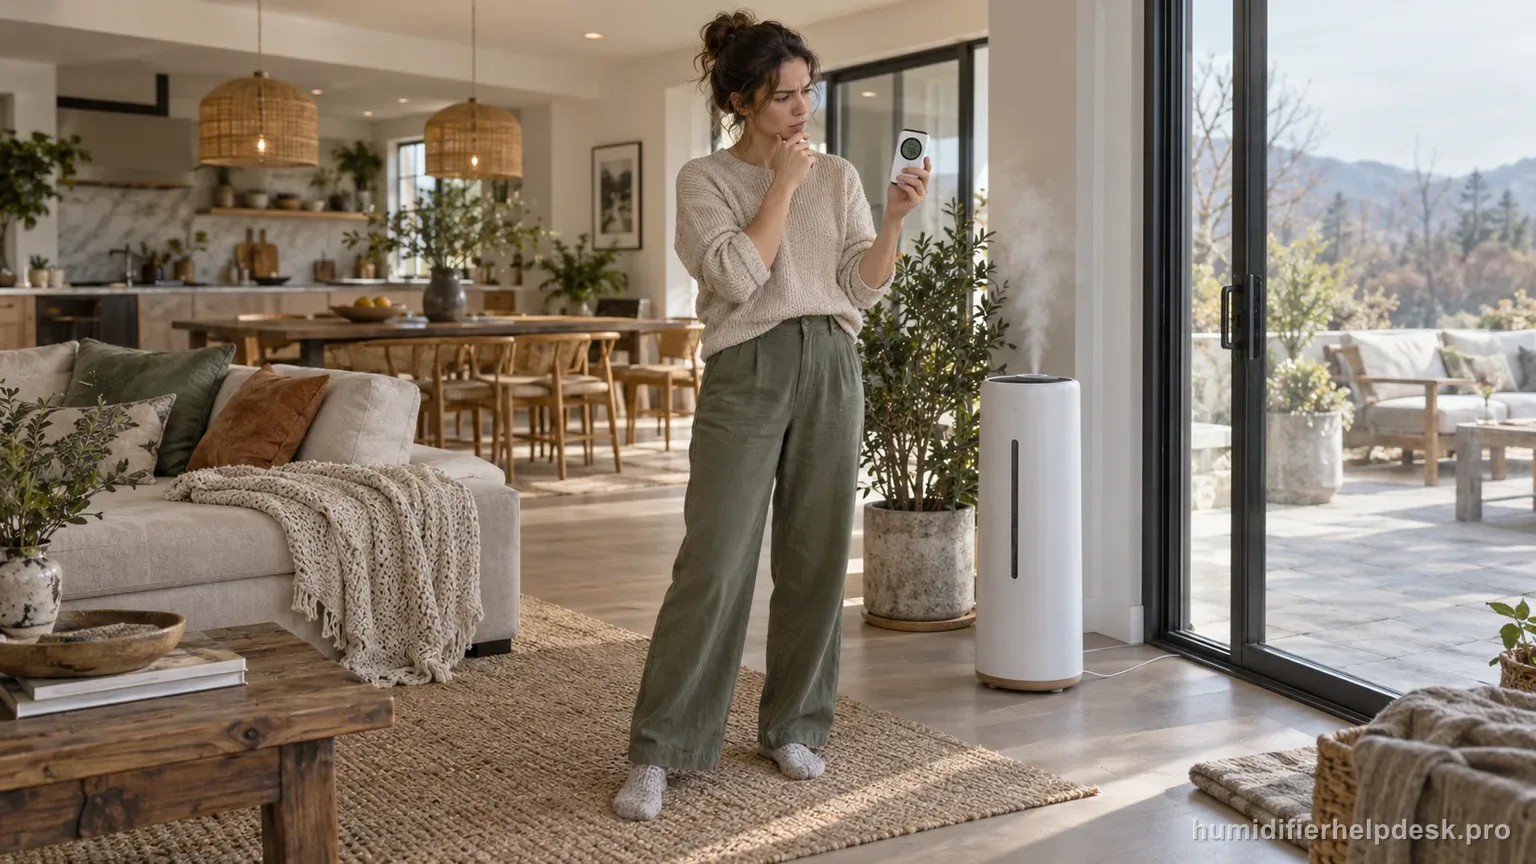
Raise the fan speed and give the room more time. The manual specifically notes that environmental conditions can make humidification take longer.
Does this match what you are seeing?
Owners describe this Levoit Superior 6000S problem in a few different ways. If one of these sounds like yours, this guide covers it:
- Humidity level not rising
- Humidity level not rising troubleshooting
- Problem Humidity level not rising
- Help for Humidity level not rising
Check these in order
- Increase the fan speed.
- Close excessive drafts if practical so the room is not continuously exchanging dry air.
- Give the unit time to humidify a large, cold, or very dry space.
- If the displayed humidity itself looks wrong, use the humidity-sensor guide before chasing output.
Diagnostic decision path
When room humidity is not rising, the Superior 6000S manual starts with fan speed and environmental load rather than an internal fault. A large, cold, very dry, or drafty space can absorb moisture for a long time, so the diagnostic should separate slow-but-real humidification from genuinely weak output. “Humidity not rising” on Superior 6000S is a room-output question, not the same query as “Auto Mode stops.” Levoit’s troubleshooting direction is to use a higher fan speed and allow more time; this page also checks whether the sensor is credible before the room result is judged.
- Record the starting humidity and selected fan speed.
- Keep the unit assembled normally with water available and avoid judging the result after only a few minutes.
- If the displayed humidity itself already looks wrong, use the sensor-reading diagnostic first.
If: Humidity begins rising after the fan speed is increased
What it means: The humidifier is producing moisture and the previous setting was too low for the room's current load.
Do next: Keep an appropriate fan speed and give the room time to stabilize before reducing output.
If: The home is very dry, cold, large, or has strong air exchange
What it means: Walls, furnishings, and incoming dry air can make the initial humidity change slow even when the unit is working.
Do next: Reduce avoidable drafts where practical and evaluate the trend over a longer period rather than expecting an immediate jump.
If: The display does not rise and the tank also shows very little water use
What it means: The complaint may be weak evaporation rather than simply a demanding room.
Do next: Check the wick/water path, fan operation, and assembly using the related low-output diagnostic.
If: Water use and airflow look normal but the displayed percentage is implausible
What it means: A sensor-reading issue can hide real room humidification.
Do next: Use the Superior 6000S wrong-humidity-reading checks before escalating output.
If: The documented checks are complete, but the same symptom remains after a controlled retest
What it means: The owner-facing evidence on this page no longer explains the repeat symptom.
Do next: Record fan speed, water use, starting/ending RH, and room-airflow conditions, then escalate the 6000S output result rather than looking for nonexistent visible mist.
How to interpret the retest
Set a manual higher fan speed and note the starting RH. Because the 6000S is evaporative, you will not see a mist plume, so confirm operation from fan airflow and water use instead. Keep the test area reasonably stable; open doors, strong HVAC exchange, and extremely dry incoming air can hold the room percentage down even while the humidifier is evaporating normally.
If the displayed RH seems stuck for reasons unrelated to room load, verify sensor placement before increasing the target. The manual says wall/corner placement within 12 in / 30 cm, dust, or sensor moisture can distort the reading. A stable, plausible RH value that changes slowly calls for output/time checks; an implausible value belongs in the separate sensor article.
Model-specific context that changes the diagnosis
Higher fan speed is the direct 6000S output test
Levoit specifically tells owners to use a higher fan speed when room humidity is not changing. Run that test manually so Auto logic is not another variable. Then watch for water consumption and a gradual room trend. If the fan runs but RH barely moves in a very open or ventilated space, room load is a more plausible explanation than a hidden mist failure—there is no visible mist on this evaporative model.
Do not use a plume test on an evaporative humidifier
Superior 6000S passes air through wet wick filters. The resulting moisture is invisible, unlike Levoit ultrasonic models. Owners who wait for fog can wrongly conclude the machine is not adding humidity. Check airflow, wick/water condition on the relevant maintenance path, water usage, and the room RH trend. A working fan with falling tank level is more meaningful than what you can see above the unit.
A bad RH reading and a slow room response need different fixes
If the 6000S display is clearly unrealistic, correct sensor moisture, dust, and 12 in / 30 cm wall/corner clearance first. If the number is plausible but simply rises slowly, keep the sensor diagnosis separate and work on fan speed, time, airflow, and room load. This separation prevents an owner from trying to “calibrate” a sensor when the actual issue is how much dry air the room is exchanging.
Common mistakes that make this harder to diagnose
- Expecting a whole-home-size space to change humidity in minutes.
- Leaving the fan on a low setting while judging maximum output.
- Chasing wick or pump faults when the displayed humidity itself is unreliable.
- Ignoring continuous dry-air exchange from doors, windows, or ventilation.
Treat the complaint as resolved when room humidity trends upward at a suitable fan speed and the result is consistent with the space's dryness and air exchange. If high fan, normal assembly, and adequate water still produce weak water use/output, continue with the low-output path. Track water use alongside room RH during the final retest.
Questions people ask about this exact symptom
Why is my Levoit Superior 6000S running but room humidity is not rising?
Start with a higher manual fan speed and more time, which are the model’s direct troubleshooting steps. Because the 6000S is evaporative, output is invisible; use fan airflow, water use, and room RH as evidence. Strong ventilation or a large connected space can offset evaporation. If the displayed RH itself is implausible, fix the sensor-reading issue separately.
How can I tell whether my Superior 6000S is actually humidifying without visible mist?
Look for normal fan airflow, wet wick operation, water consumption, and a room-humidity trend over time. This model is designed to evaporate moisture without an ultrasonic plume. A visible-mist test will falsely fail even when the humidifier is working. If water level never changes or the fan does not run, move to the relevant wick/water/fan troubleshooting path.
Can wall placement make it look like Superior 6000S humidity is not increasing?
It can make the built-in RH number unrepresentative. Levoit says the sensor can read improperly within 12 in / 30 cm of a wall, in a corner, when damp, or when dusty. Correct that placement first if the display looks wrong. If the reading is credible but slow, use higher fan speed, more time, and room-load checks instead.
Why this path is model-specific
The Superior 6000S troubleshooting table says to use a higher fan speed and notes that some environments take longer to humidify.
For the Levoit Superior 6000S, the machine type matters: it is evaporative. Its moisture output is not supposed to look like ultrasonic fog, so “I cannot see mist” by itself is not evidence of a failure.
Compare this symptom across verified models
If you are still deciding whether this behavior is normal or model-specific, use the symptom hub to compare only manufacturer-linked guides. Keep the Levoit Superior 6000S instructions above as the controlling path for this machine.
If the problem is still there
If the checks above do not change the symptom, use the manufacturer support path for this exact model. We intentionally stop before undocumented resets, sensor bypasses, internal mains work, or parts replacement that the consumer manual does not authorize.
What we do not recommend
Do not defeat a float, water-level sensor, overheat protection, interlock, or other safety feature. Do not open mains-powered sections for live testing. If the unit smells burned, becomes abnormally hot, smokes, sparks, has water near electrical parts, or repeatedly trips a circuit, stop using it and keep clear. Unplug it only if the plug, outlet, and surrounding area are dry and safe to reach; otherwise do not touch wet equipment and contact manufacturer support for next steps.
Primary source for this diagnosis
Source checked during the September 4, 2026 editorial review. Manufacturer documents can change; a material re-review updates this guide’s reviewed date rather than stamping unrelated pages.