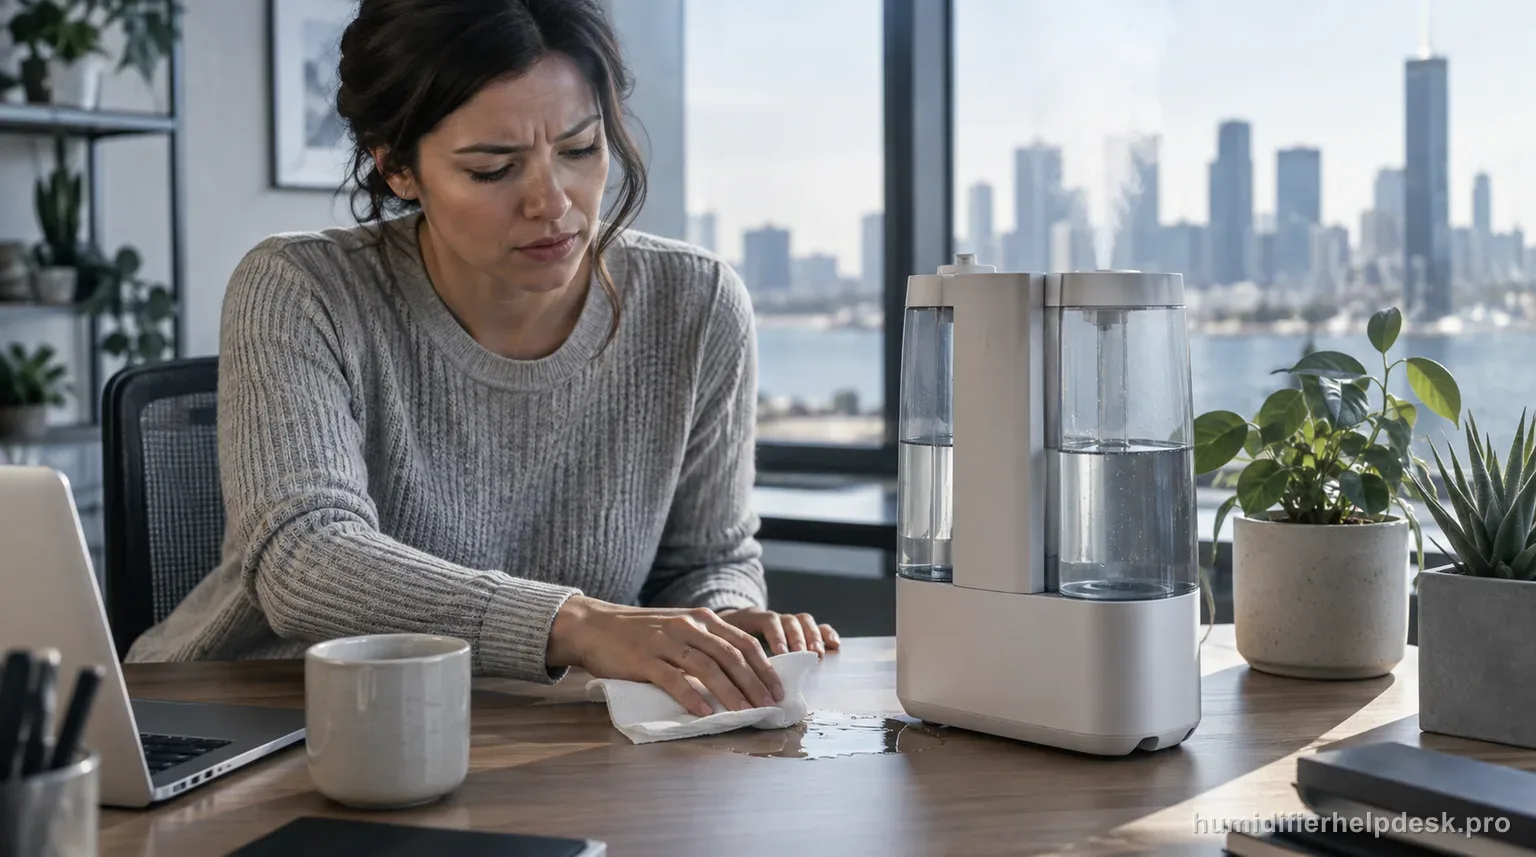
Dry the Dual 150 and identify where new water first appears before treating every wet surface as a tank leak. The manual points to the silicone sealing ring around the water outlet valve, high room humidity, water left around the base, shaking or moving a full unit, an unlevel surface, and a leaking tank.
Does this match what you are seeing?
Owners describe this Levoit Dual 150 problem in a few different ways. If one of these sounds like yours, this guide covers it:
- Leaking water
- Water under the base
- Humidifier leaking from bottom
- Reservoir leaking or overflowing
Check these in order
- Unplug the humidifier, wipe the tank, base, and surface dry, then watch where the first new droplet appears.
- Check from the outside that the silicone sealing ring around the water outlet valve is present and seated correctly.
- If room humidity is already high, lower mist output or stop the unit and ventilate before deciding the water is a mechanical leak.
- Do not shake or tilt a filled humidifier; place it on a hard, flat, level surface for the retest.
- Inspect the tank for a repeatable leak while keeping water away from electrical areas.
Diagnostic decision path
A wet surface beside a Dual 150 can come from a true tank or valve leak, water spilled during refilling, or condensation in an already humid room. The manual’s leak row is deliberately different from its low-mist row, so the safest first move is not to add or remove random amounts of base water. Unplug, dry the exterior completely, and locate where the first new water appears while the unit sits still on a level surface.
- Unplug the Dual 150 and dry the tank, base exterior, power-cord area, and supporting surface before tracing a fresh leak.
- Do the retest on a firm, flat, water-resistant surface where a new droplet can be seen; do not use carpet, bedding, or furniture.
- If water has already reached the cord, plug, outlet, or electrical part of the base, do not perform another powered test.
If: New water appears around the tank outlet valve
What it means: The manual specifically identifies the silicone sealing ring around the water outlet valve as an external leak checkpoint.
Do next: Remove the tank with the unit unplugged and inspect from the outside that the silicone sealing ring is present and seated correctly. Do not glue, modify, or substitute the seal.
If: Water is mostly on nearby surfaces while room humidity is already high
What it means: Condensation or over-humidification can mimic a machine leak, especially when mist is directed toward a cool wall or nearby object.
Do next: Lower mist output or turn the unit off, ventilate the room, redirect mist away from surfaces, dry everything, and observe whether localized water returns.
If: Water appears after carrying, shaking, or tilting a filled humidifier
What it means: Movement can put water where it would not travel during normal stationary operation. The manual explicitly warns against shaking the humidifier in the leak path.
Do next: Dry the unit, place it level, and repeat the observation without moving it. Do not use tilting as a method to “find” an internal leak.
If: A dry tank develops water at the same seam or point while off the base
What it means: A repeatable tank-side leak is more specific evidence than a puddle under the assembled humidifier.
Do next: Keep the unit unplugged and pursue tank replacement/support rather than opening the base or trying to seal a structural crack with an improvised repair.
If: Water reappears under the base on a level surface and is not explained by condensation or the tank
What it means: The documented external leak checks have not produced a user-serviceable cause.
Do next: Stop using the unit and give support the exact location, room-humidity context, seal observation, and whether the tank leaked separately.
How to interpret the retest
Do not copy “too much water in the base chamber” from the no-mist row into the leak row. The Dual 150 manual keeps those complaints separate; preserving that separation prevents a symptom-specific guide from becoming a generic list of every water-related sentence in the manual.
High relative humidity is an operational condition, not proof of a failed seal. If the room is saturated, mist can condense on the humidifier, nearby wall, or tabletop and create water that appears to originate from the appliance.
A fresh-leak test begins only after old water is removed. Otherwise refill splashes and condensation can be mistaken for an active failure and send the user toward unnecessary tank or base replacement.
The sealing-ring check is visual and external. The manual does not tell the owner to open the base, disassemble a valve mechanism, or defeat a safety feature to follow water internally.
If the leak reaches an electrical area, the diagnostic priority changes from “find the source” to “stop use.” Drying and repeatedly powering the unit is not an acceptable way to test a suspected electrical-area leak.
Model-specific context that changes the diagnosis
Why the first droplet matters more than the final puddle
Water spreads across a flat surface, so the center of a puddle can be far from its source. Drying the assembly and watching the first fresh droplet gives better evidence about a tank seam, outlet-valve seal, condensation, or a base-area leak. This observation keeps the troubleshooting grounded in something repeatable rather than guessing from where water collected after an hour.
Condensation is tested by changing the room condition
When the room is already humid, reduce or stop mist and ventilate while keeping the machine stationary. If surrounding moisture stops forming without any tank or seal change, that result supports an over-humidification explanation. If a localized droplet returns from the same hardware point even in a drier condition, the evidence shifts back toward a mechanical leak.
Escalation should include a location, not just “it leaks”
Before contacting support, note whether water started at the tank outlet, a tank seam, the upper base edge, or beneath the electrical base; whether room humidity was high; and whether the filled tank leaked when observed separately. Those details help distinguish a replaceable tank problem from a unit that should remain unplugged.
Common mistakes that make this harder to diagnose
- Tracing a leak without first drying refill splashes and old condensation.
- Shaking or tilting a full humidifier to force water out and then treating the forced spill as the original leak.
- Copying the excess-base-water step from no-mist troubleshooting into the leak path even though the manual separates the rows.
- Continuing powered tests after water reaches the cord, controls, outlet, or electrical base area.
The problem is resolved when the Dual 150 remains dry during a stationary retest after the relevant external condition is corrected—for example, the sealing ring is properly seated, room humidity/output is reduced, the unit is kept level, or a leaking tank is replaced. If a fresh leak continues from the same point, especially near electrical areas, keep the appliance unplugged and use manufacturer support instead of opening the base.
Questions people ask about this exact symptom
How can I tell whether my Dual 150 is leaking or just causing condensation?
Unplug and dry the humidifier and nearby surface first. If room humidity is already high, lower or stop mist, ventilate, and keep the unit stationary. Condensation should diminish as the room condition changes. A fresh droplet that repeatedly begins at the tank outlet, a tank seam, or beneath the unit after everything was dried is stronger evidence of a mechanical leak.
Should I check excess water in the base when my Dual 150 leaks?
Not as a generic leak step. The Dual 150 manual lists excess water in the base under little-or-no-mist troubleshooting, while the water-leak row focuses on the outlet-valve silicone sealing ring, high humidity, water around the base, shaking, level placement, and tank leakage. Keeping those rows separate avoids importing an unrelated check simply because both symptoms involve water.
When is a Dual 150 water leak unsafe to keep testing?
Stop immediately if water reaches the cord, plug, wall outlet, control area, or electrical portion of the base, or if the unit overheats, smells burned, or sparks. Do not repeatedly dry and re-energize it to trace the leak. Record where the water first appeared and the tank/seal observations, then keep the humidifier unplugged for manufacturer support.
Why this path is model-specific
The Dual 150 troubleshooting table names the water-outlet silicone sealing ring, high relative humidity, excess water around the base, shaking, level placement, and a leaking tank as the external checks for water leakage.
For the Levoit Dual 150, the machine type matters: it is ultrasonic. Visible mist is part of normal output when mist production is active, so a true no-mist complaint deserves model-specific troubleshooting.
This symptom appears on other humidifiers too, but the meaning and reset path can change by technology, sensor logic, and control layout. Use the exact model source above before borrowing a fix from a neighboring model.
Compare this symptom across verified models
If you are still deciding whether this behavior is normal or model-specific, use the symptom hub to compare only manufacturer-linked guides. Keep the Levoit Dual 150 instructions above as the controlling path for this machine.
If the problem is still there
If the checks above do not change the symptom, use the manufacturer support path for this exact model. We intentionally stop before undocumented resets, sensor bypasses, internal mains work, or parts replacement that the consumer manual does not authorize.
What we do not recommend
Do not defeat a float, water-level sensor, overheat protection, interlock, or other safety feature. Do not open mains-powered sections for live testing. If the unit smells burned, becomes abnormally hot, smokes, sparks, has water near electrical parts, or repeatedly trips a circuit, stop using it and keep clear. Unplug it only if the plug, outlet, and surrounding area are dry and safe to reach; otherwise do not touch wet equipment and contact manufacturer support for next steps.
Primary source for this diagnosis
Source checked during the September 4, 2026 editorial review. Manufacturer documents can change; a material re-review updates this guide’s reviewed date rather than stamping unrelated pages.