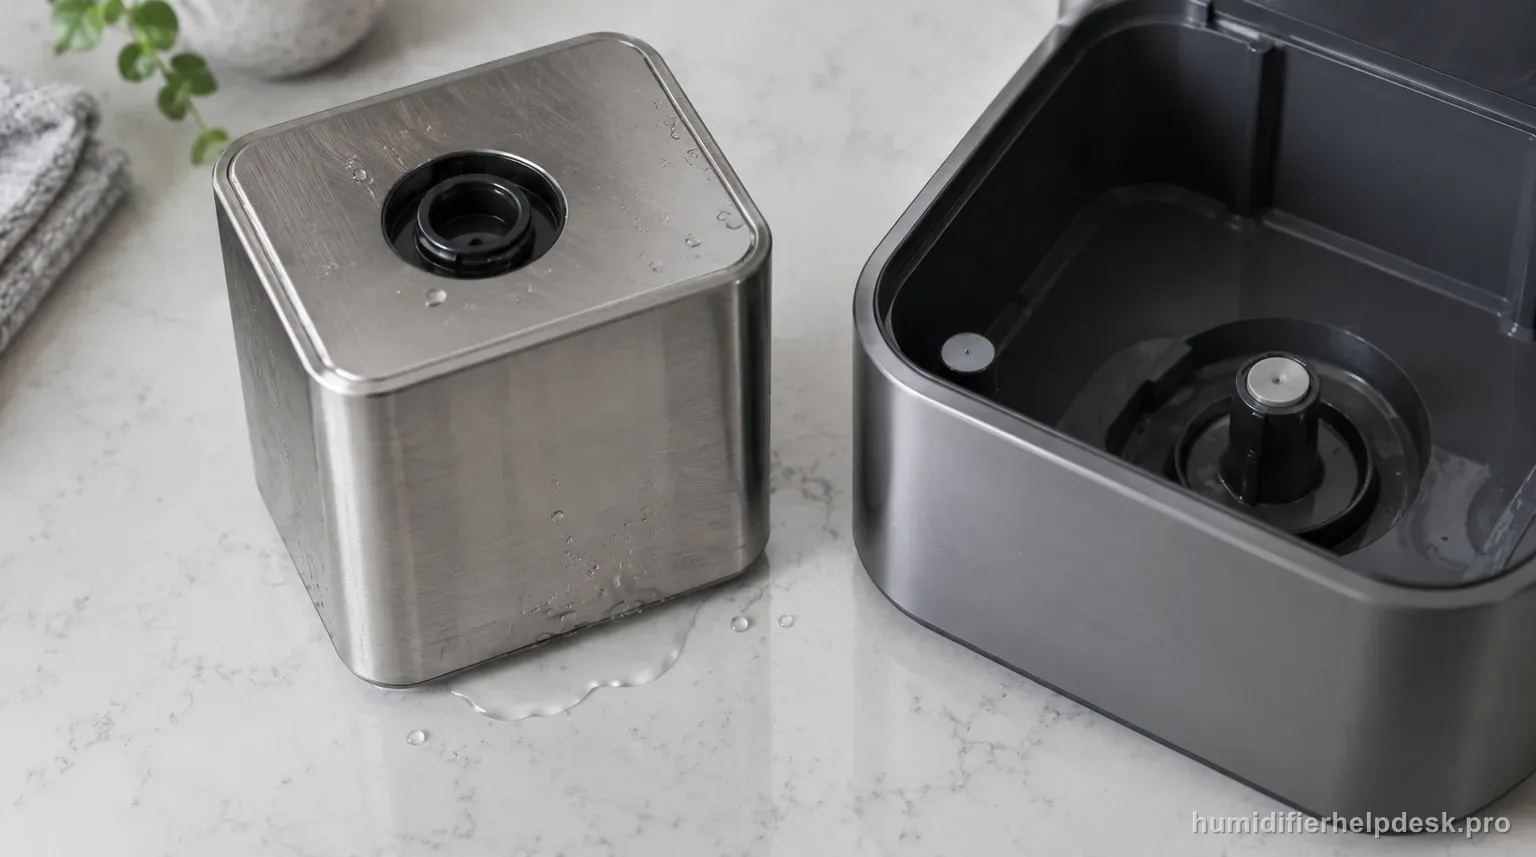
Carepod directs owners to check three assembly points: the stainless-steel tank lip must align correctly, the inner lid cover must be pushed fully into place using the center white knob, and the silicone seal must be pressed fully around the edge.
Does this match what you are seeing?
Owners describe this Carepod One problem in a few different ways. If one of these sounds like yours, this guide covers it:
- Leaking water
- Water under the base
- Humidifier leaking from bottom
- Reservoir leaking or overflowing
Check these in order
- Unplug the Carepod One, remove the tank, and dry the base and surrounding surface completely.
- Reinstall the stainless-steel tank so its lip is aligned and seated evenly.
- Push the inner lid cover fully into place using the center white knob.
- Press the silicone seal all the way around its edge, then perform one short controlled refill/retest.
Diagnostic decision path
Water underneath the Carepod One's stainless-steel tank is a specific assembly diagnosis, not the same complaint as mist settling on the floor. Carepod's support checklist focuses on three contact points: align the stainless tank lip correctly, push the inner lid cover fully into place with the center white knob, and press the silicone seal securely around its entire edge. Because water is close to a powered appliance, the most useful method is to unplug, dry every surface, correct one visible assembly issue, and perform one short refill test. Repeated wet operation is not a diagnostic technique.
- Unplug the humidifier before lifting the stainless-steel tank or touching the lid and seal assembly.
- Remove all existing water from the base area and dry the unit and table completely so the next drop has a traceable origin.
- Inspect the stainless tank and silicone seal for obvious tears, deformation, or impact damage before trying to reseat them.
- Use clean water below the MAX line for the retest; an overfilled or spilled tank can mimic an assembly leak.
If: The tank lip is visibly uneven or not aligned in its seat
What it means: The water container is not sitting in the intended position, one of the conditions Carepod asks owners to correct.
Do next: Lift and reinstall the stainless-steel tank evenly, dry the area again, and perform a short stationary refill test.
If: The inner lid cover is loose or can still be pressed farther down
What it means: The cover has not reached the fully seated position described by Carepod.
Do next: Use the center white knob to push the inner lid cover fully into place before adding water for the next test.
If: Part of the silicone seal is lifted, rolled, or not fully pressed around the edge
What it means: The seal does not have uniform contact around the water path.
Do next: Press the silicone seal into place all the way around without stretching it or adding adhesive, then dry and retest.
If: All three assembly points look correct and the unit remains dry through the short test
What it means: The earlier water was likely related to seating, assembly, or a one-time spill rather than an ongoing leak.
Do next: Resume normal use while checking the area once during the next full session; no further disassembly is needed if it stays dry.
If: Fresh water returns after correct tank, lid, and seal seating
What it means: The documented external assembly corrections have not resolved the leak.
Do next: Stop using the Carepod One and contact Carepod support; do not tape, glue, shim, or open powered parts to contain the water.
How to interpret the retest
A dry-before-test rule prevents a common false positive: water spilled while removing the tank can otherwise look like water that leaked during operation.
Check the entire circumference of the silicone seal. A small lifted section can be easy to miss if you only inspect the front edge.
Pressing harder is not a substitute for correct alignment. If a component seems to require force or looks deformed, stop rather than damaging the water path.
A broad damp area in front of the mist outlet with a dry tank underside points back toward mist fallout. A concentrated fresh pool below the tank is the evidence for this assembly path.
Once water approaches the cord, outlet, or connector, electrical safety takes priority over learning exactly which seam released the first drop.
Model-specific context that changes the diagnosis
Three assembly checks, one retest
Tank lip, inner lid cover, and silicone seal should all be confirmed before the refill. That does not mean randomly moving them during operation. Correct the visible seating, dry the area, then make one controlled observation with the humidifier stationary.
Do not manufacture a fourth seal
Carepod's checklist is about correct seating of the original components. Tape, glue, plumber's putty, extra gaskets, or wedges can contaminate the water path and may redirect water toward the powered base.
Separate filling spills from operating leaks
If water only appears while carrying or reinstalling the tank, change the filling technique and dry the exterior before judging the machine. A true unresolved leak reproduces after correct assembly while the unit sits undisturbed.
Common mistakes that make this harder to diagnose
- Retesting on an already wet table and then assuming every drop came through the tank assembly.
- Checking only the tank lip while leaving the inner lid cover or one side of the silicone seal incompletely seated.
- Adding tape, adhesive, or an improvised gasket to a water-bearing appliance.
- Running a long session after a short test has already shown that fresh water is returning under the tank.
The water-under-tank complaint is resolved when the stainless-steel tank sits evenly, the inner lid cover is fully seated through the center white knob, the silicone seal is pressed around its complete edge, and a dry short test produces no new liquid under the tank. A later normal session should also leave the base exterior dry. If fresh water returns after those documented checks, or a component is damaged or deformed, unplug the Carepod One and use manufacturer support rather than continuing wet tests or applying a home-made seal.
Questions people ask about this exact symptom
Why is water collecting under my Carepod One stainless-steel tank?
Carepod tells owners to verify three assembly points: the stainless tank lip must be aligned correctly, the inner lid cover must be pushed fully into place using the center white knob, and the silicone seal must be pressed securely around the entire edge. Unplug and dry the unit before making those corrections. Then run one short refill test; persistent fresh water after correct seating should be referred to Carepod support.
Should I use tape or sealant if my Carepod One leaks under the tank?
No. The manufacturer troubleshooting path is to restore correct seating of the tank, inner lid cover, and original silicone seal. Adding tape, glue, putty, or another gasket can alter the water path and create a new failure near the powered base. If a seal is damaged or water returns after correct assembly, stop using the humidifier and ask Carepod about the proper replacement or service route.
How can I tell a Carepod One tank leak from mist collecting on the floor?
Dry both the humidifier and surrounding surface before testing. Mist fallout usually creates dampness in the area reached by the visible plume while the underside of the tank stays dry. An assembly leak produces fresh liquid directly beneath or around the stainless-steel tank. Carepod has different guidance for the two patterns: placement and lower output for settling mist, versus tank-lip, inner-lid, and silicone-seal checks for water under the tank.
Why this path is model-specific
Carepod support specifically lists tank-lip alignment, full seating of the inner lid cover, and full seating of the silicone seal when water accumulates underneath the stainless-steel tank.
For the Carepod One, the machine type matters: it is ultrasonic. Visible mist is part of normal output when mist production is active, so a true no-mist complaint deserves model-specific troubleshooting.
Compare this symptom across verified models
If you are still deciding whether this behavior is normal or model-specific, use the symptom hub to compare only manufacturer-linked guides. Keep the Carepod One instructions above as the controlling path for this machine.
If the problem is still there
If the checks above do not change the symptom, use the manufacturer support path for this exact model. We intentionally stop before undocumented resets, sensor bypasses, internal mains work, or parts replacement that the consumer manual does not authorize.
What we do not recommend
Do not defeat a float, water-level sensor, overheat protection, interlock, or other safety feature. Do not open mains-powered sections for live testing. If the unit smells burned, becomes abnormally hot, smokes, sparks, has water near electrical parts, or repeatedly trips a circuit, stop using it and keep clear. Unplug it only if the plug, outlet, and surrounding area are dry and safe to reach; otherwise do not touch wet equipment and contact manufacturer support for next steps.
Primary source for this diagnosis
Source checked during the September 5, 2026 editorial review. Manufacturer documents can change; a material re-review updates this guide’s reviewed date rather than stamping unrelated pages.