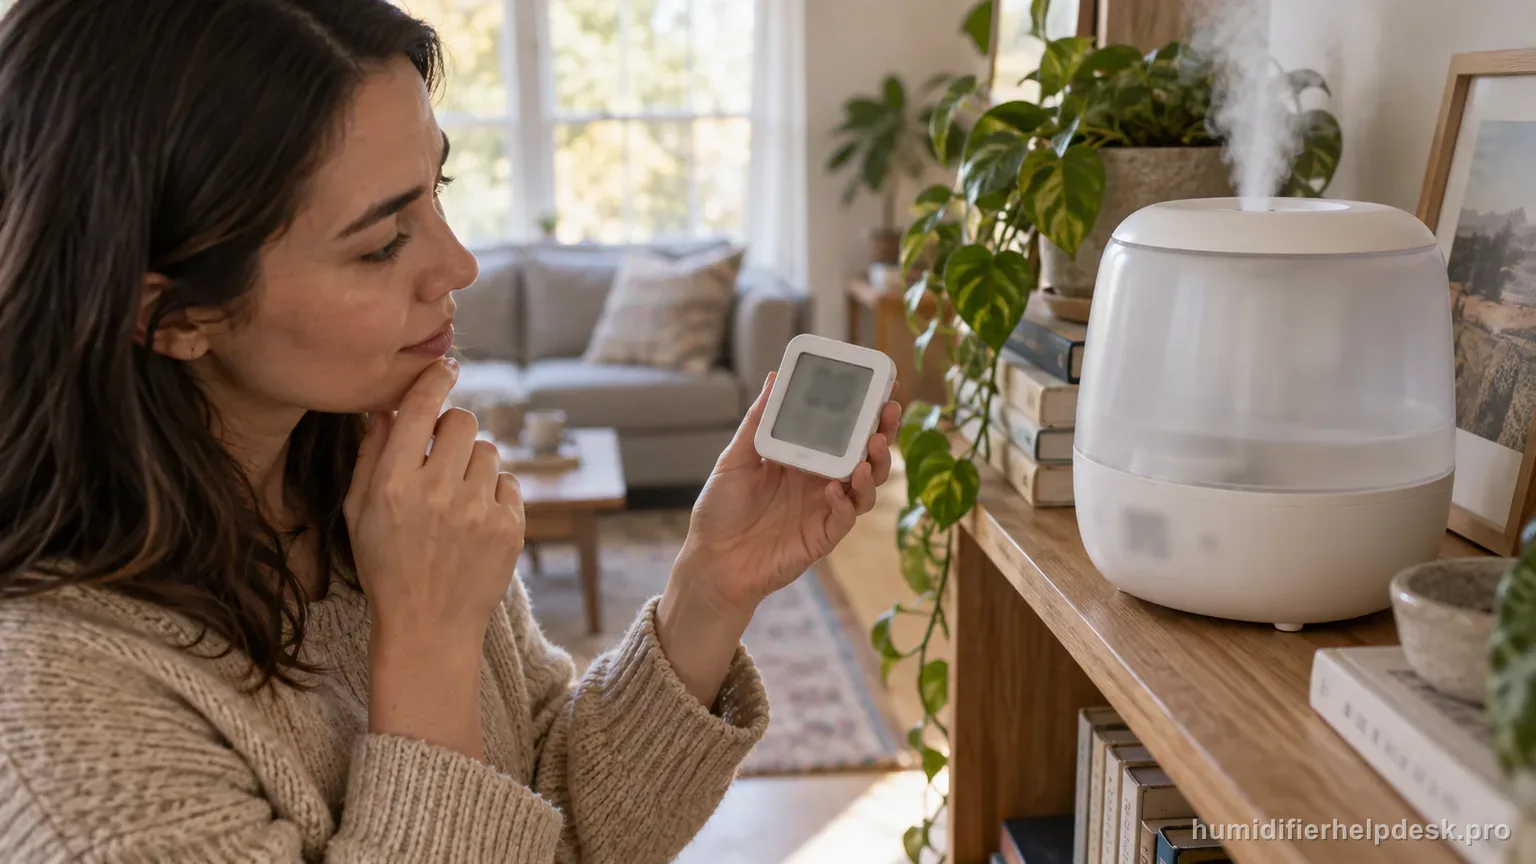
The built-in sensor can read incorrectly if the room is outside the model’s effective range or moisture has collected around the humidity sensor.
Does this match what you are seeing?
Owners describe this Levoit Classic 300S problem in a few different ways. If one of these sounds like yours, this guide covers it:
- Humidity reading wrong
- Humidity sensor inaccurate
- Humidity display too high
- Humidity display too low
Check these in order
- Make sure the humidifier is being used within its intended room-size range.
- Turn the humidifier off and let the humidity sensor area dry if mist may have settled on it.
- Aim the nozzle away from the sensor side of the base.
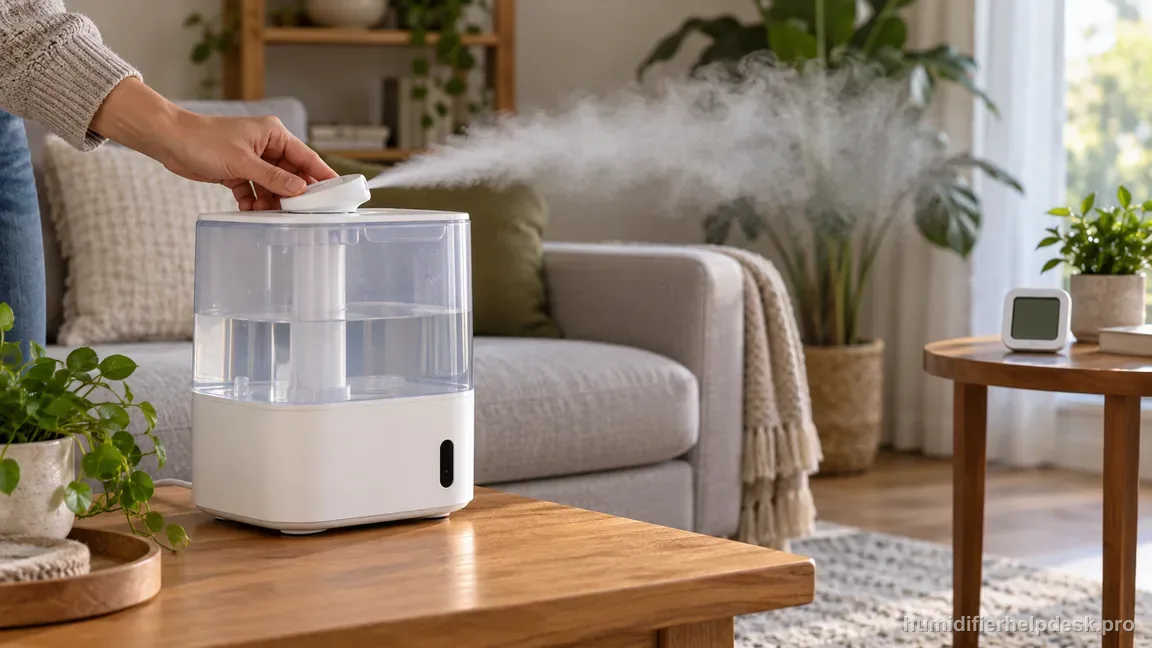
Illustrative: Aim the nozzle away from the Classic 300S sensor side and compare room readings only after air has mixed. - Compare again only after room air has had time to mix.
Diagnostic decision path
A humidity number that looks “wrong” is not automatically a failed sensor. On the Classic 300S, Levoit specifically points to room-size conditions and moisture collecting around the humidity sensor, so the useful test is to change placement and let the sensor dry before comparing instruments. The Classic 300S can read a wetter pocket than the rest of the room if its own mist reaches the sensor area. A useful test therefore controls nozzle direction, sensor drying, and room location before comparing the displayed percentage with another hygrometer.
- Move the humidifier away from direct HVAC airflow and keep the mist nozzle aimed away from the sensor side of the base.
- If mist may have settled around the sensor, turn the unit off and allow the sensor area to air dry.
- Use a second hygrometer only as a comparison tool, and place it several feet away rather than directly beside the humidifier.
If: The built-in reading is high while mist is blowing back toward the sensor
What it means: Local moisture is likely biasing the sensor toward the humidifier’s own plume rather than the room average.
Do next: Redirect the nozzle, dry the sensor area, and compare again after the room air has mixed.
If: The reading changes substantially after moving the unit away from a wall, vent, or corner
What it means: Placement was influencing the local microclimate around the sensor.
Do next: Keep the humidifier in the more representative location and use that reading for Auto Mode decisions.
If: A separate hygrometer differs by a few percentage points but both move in the same direction
What it means: Small instrument-to-instrument differences can be normal and do not by themselves prove a sensor failure.
Do next: Judge trend and room comfort, not exact single-point agreement, and allow both sensors time to stabilize.
If: The display remains implausibly high/low after drying and placement checks
What it means: The manual’s external explanations no longer account for the reading.
Do next: Use Levoit support rather than opening the base or attempting to calibrate an undocumented internal sensor.
If: The documented checks are complete, but the same symptom remains after a controlled retest
What it means: The owner-facing evidence on this page no longer explains the repeat symptom.
Do next: Save the nearby hygrometer comparison, nozzle direction, and drying result, then contact Levoit about the Classic 300S sensor without attempting internal calibration.
How to interpret the retest
Use the Classic 300S within its stated 215–505 ft² / 20–47 m² effective range for the comparison. Move the reference hygrometer into the same general room zone without putting it in the direct plume. After changing placement, wait for both instruments to settle; a snapshot taken seconds after moving one sensor says more about local air than calibration.
If mist may have settled around the built-in sensor, turn the humidifier off and let that area dry. Redirect the nozzle away from the sensor side before restarting. Improvement after drying or redirection is strong evidence of local moisture bias. Do not open the base or try to “calibrate” the sensor internally because that owner procedure is not documented.
Model-specific context that changes the diagnosis
Compare the Classic 300S and hygrometer in the same air
A hygrometer across the room may sit near a doorway, vent, window, or colder wall while the Classic 300S samples air near its base. Place the comparison meter nearby but outside direct mist, then observe the trend for a while. A small difference is less important than a built-in reading that remains obviously implausible after both devices share similar room conditions.
Mist feedback can make the displayed RH look too high
The ultrasonic plume is a model-specific source of local bias. If the nozzle points back toward the sensor, wet air can be sampled before it mixes through the room. Redirect the outlet, let any damp sensor area dry, and retest. When the reading becomes more believable after that change, keep the corrected nozzle direction rather than assuming the electronic sensor failed.
Room scale is part of the sensor sanity check
The Classic 300S manual uses an effective range up to about 505 ft² / 47 m². In a much larger or open connected area, humidity can vary significantly by location. That does not automatically make the display wrong. Control doors, vents, and sensor position for the comparison before deciding the mismatch deserves Levoit support.
Common mistakes that make this harder to diagnose
- Placing the comparison hygrometer directly in the mist plume.
- Changing the target humidity while also moving the unit, making the test hard to interpret.
- Expecting two consumer humidity sensors to show the exact same number instantly.
- Spraying cleaner or water into the external sensor area.
The issue is considered resolved when the Classic 300S reading becomes stable and plausible after the sensor is dry, mist is directed away from it, and the unit is placed in representative room air. A persistently implausible reading after those checks belongs with Levoit support.
Questions people ask about this exact symptom
Why does my Levoit Classic 300S show higher humidity than my hygrometer?
The built-in sensor may be sampling a wetter microclimate, especially if the mist is directed toward the sensor or moisture has collected around it. Point the nozzle away, let the sensor area dry, place the comparison hygrometer nearby but out of direct mist, and wait for the room air to mix before judging the difference.
Can I calibrate the humidity sensor on a Classic 300S myself?
The owner troubleshooting path is external rather than an internal calibration procedure. Correct room placement, keep mist off the sensor, allow a damp sensor area to air-dry, and compare again under stable conditions. If the displayed value remains clearly implausible after those controls, contact Levoit for the exact Classic 300S instead of opening the base.
Does room size affect the Classic 300S humidity reading?
It can affect how representative the reading is. The Classic 300S is intended for roughly 215–505 ft² / 20–47 m². In an open or larger space, humidity may differ from one location to another. Compare sensors in the same general zone and control airflow before treating a room-wide difference as a bad sensor.
Why this path is model-specific
The Classic 300S manual says room size and moisture buildup inside the humidity sensor can cause an incorrect percentage, and instructs owners to keep mist from settling on the sensor.
For the Levoit Classic 300S, the machine type matters: it is ultrasonic. Visible mist is part of normal output when mist production is active, so a true no-mist complaint deserves model-specific troubleshooting.
This symptom appears on other humidifiers too, but the meaning and reset path can change by technology, sensor logic, and control layout. Use the exact model source above before borrowing a fix from a neighboring model.
Compare this symptom across verified models
If you are still deciding whether this behavior is normal or model-specific, use the symptom hub to compare only manufacturer-linked guides. Keep the Levoit Classic 300S instructions above as the controlling path for this machine.
If the problem is still there
If the checks above do not change the symptom, use the manufacturer support path for this exact model. We intentionally stop before undocumented resets, sensor bypasses, internal mains work, or parts replacement that the consumer manual does not authorize.
What we do not recommend
Do not defeat a float, water-level sensor, overheat protection, interlock, or other safety feature. Do not open mains-powered sections for live testing. If the unit smells burned, becomes abnormally hot, smokes, sparks, has water near electrical parts, or repeatedly trips a circuit, stop using it and keep clear. Unplug it only if the plug, outlet, and surrounding area are dry and safe to reach; otherwise do not touch wet equipment and contact manufacturer support for next steps.
Primary source for this diagnosis
Source checked during the September 4, 2026 editorial review. Manufacturer documents can change; a material re-review updates this guide’s reviewed date rather than stamping unrelated pages.